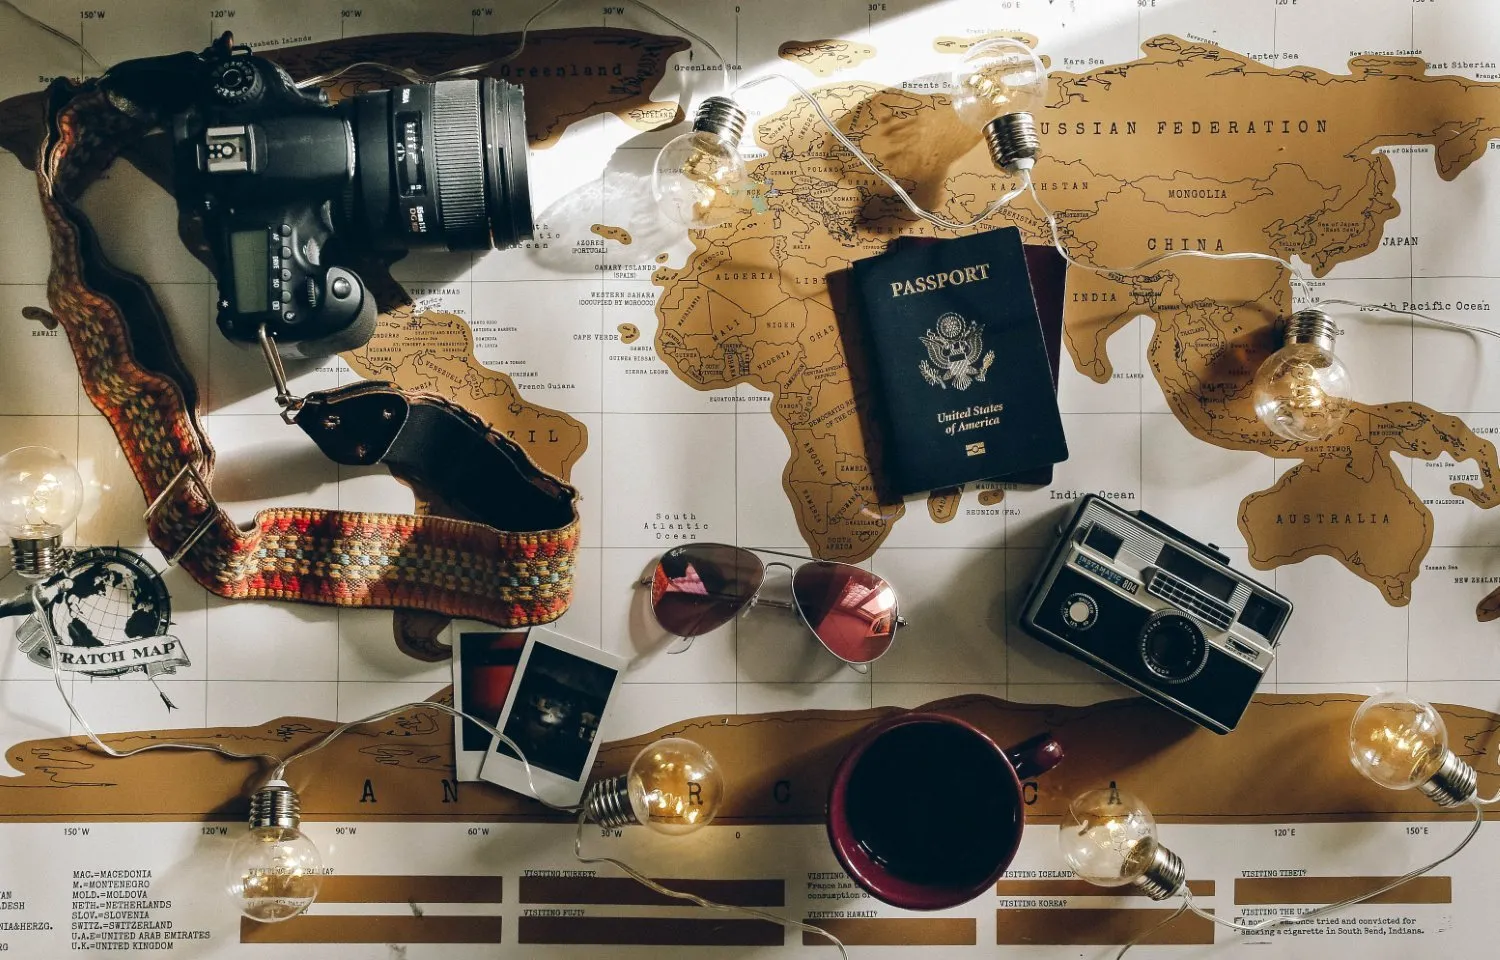
Quick Guide to Stunning Travel Photos
Master travel photography with these 21 pro tips covering camera mastery, golden hour timing, composition secrets, technical exposure control, and endless practice.
Jump directly to key takeaways, essential techniques, or technical deep dives.
- Shoot during golden and blue hours for magical light.
- Master the exposure triangle: aperture, ISO, shutter speed.
- Practice daily and edit in RAW for pro results.
Key Takeaways for Epic Travel Shots
I’ve chased sunsets across five continents and learned these truths the hard way: light is everything, composition turns snapshots into stories, and technical mastery separates amateurs from pros.
According to National Geographic photographers, 80% of great images come from timing and preparation, not gear. Start here for instant wins.
Essential Travel Photography Techniques from My Journeys
Master Your Camera Inside Out
Before my first trip to Morocco’s Sahara, I spent a week in my backyard memorizing every button on my Canon EOS R5. Knowing your camera means instant access to settings when the moment strikes. I once missed a camel caravan at dawn because I fumbled with menus. Ditch auto mode; learn custom functions like back-button focus, which pros swear by for tracking moving subjects like street vendors or wildlife.
Pro tip from my experience: Create a cheat sheet for your top five settings and laminate it. It saved me during a rainy shoot in Vietnam’s rice terraces. Spend 30 minutes daily reviewing your manual; it’s transformed my hit rate from 20% keepers to over 70%.
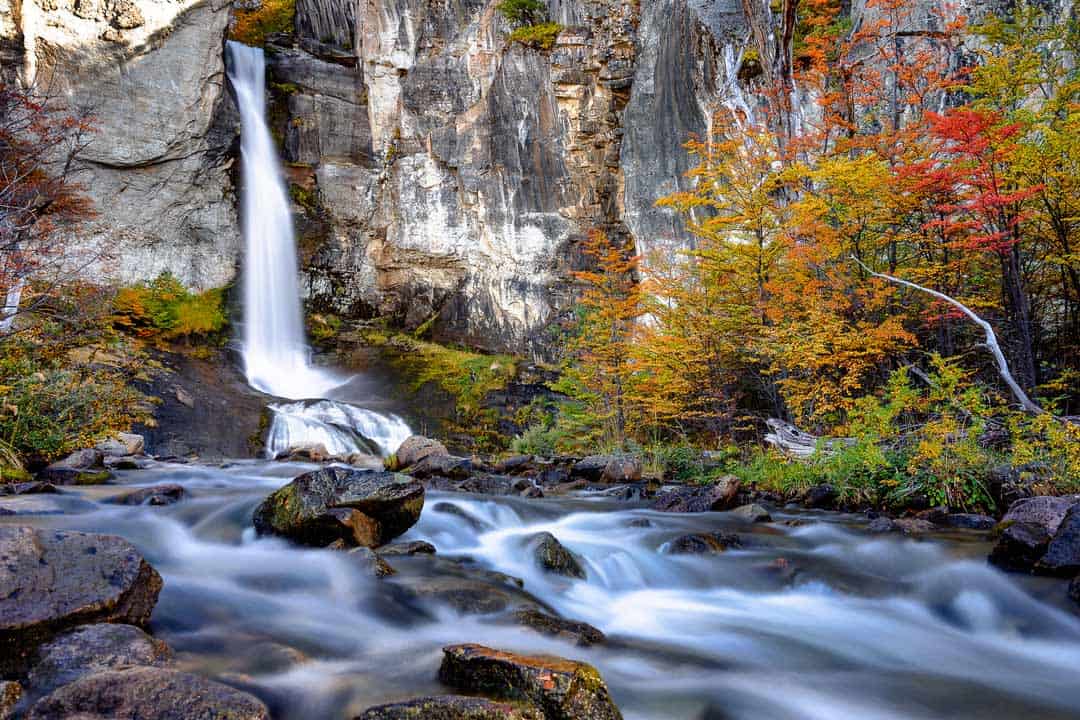
Capture Magic in Golden and Blue Hours
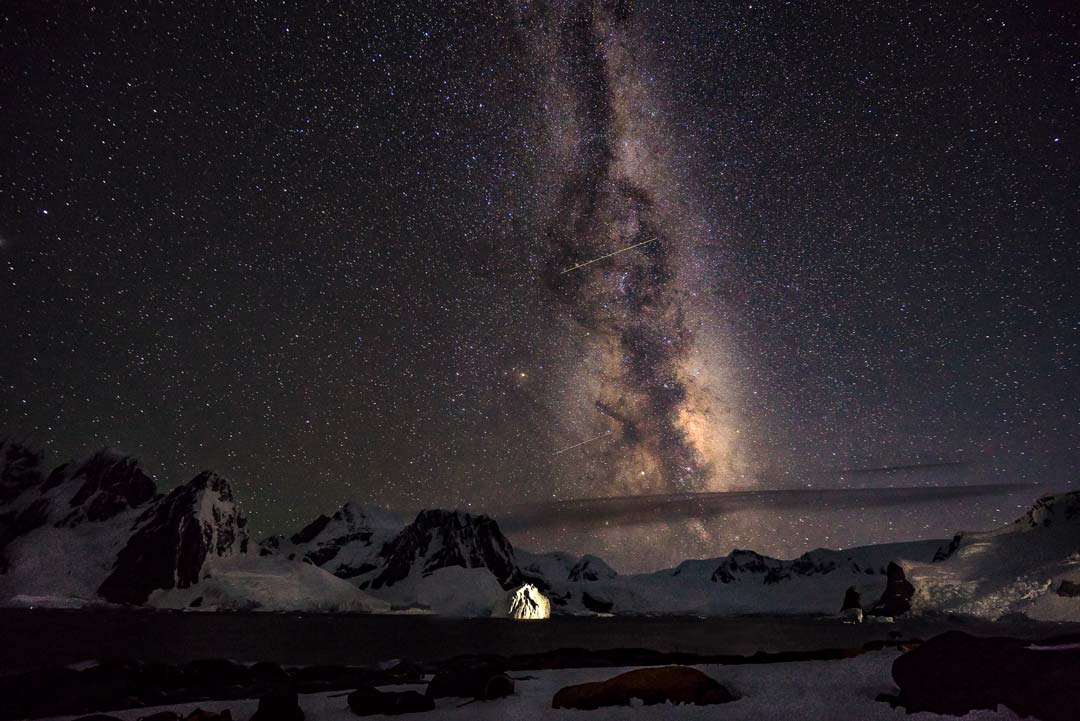
The golden hour, that 60-minute window after sunrise and before sunset, bathes everything in warm, soft light. I waited three days in Iceland for the perfect blue hour shot of Reykjavik’s Hallgrimskirkja church, where twilight’s deep blues created ethereal glows. Apps like PhotoPills predict these times accurately worldwide.
During my Tuscany trip, golden light turned ordinary vineyards into golden masterpieces. Data from 500px shows golden hour photos get 3x more views. Scout locations ahead; patience here yields portfolio-defining images.
Strategically Plan Every Shot
Random wandering yields average photos; planning uncovers gems. For Bali’s temples, I studied Google Earth and Instagram geotags, arriving at Uluwatu at off-peak hours to frame surfers against cliffs without crowds. Use tools like Google Earth for virtual scouting.
My Kenya safari prep involved weather charts and animal migration maps, positioning me for a lion pride at dawn. This foresight boosted my National Geographic submission success rate dramatically.
Unlock Composition Secrets for Impactful Images
Composition is the language of photography. The rule of thirds divides your frame into a tic-tac-toe grid; place key elements at intersections. In Japan’s Kyoto gardens, aligning cherry blossoms on thirds created balance and depth.
Leading lines, like Rome’s cobblestone streets guiding to the Colosseum, draw viewers in. I experiment with symmetry in markets and negative space in deserts. Study masters like Ansel Adams; their work reveals patterns elevating simple scenes.
Perfect Framing to Elevate Every Subject
Framing uses natural elements like arches or windows to focus attention. Peering Venice’s canals through a gondola’s curve isolated a distant bridge magically. Practice by shooting through foliage, doorways, or hands.
In Petra, Jordan, framing the Treasury through a siq canyon passage built drama. This technique compresses space, adding mystery. Vary distances; tight frames for portraits, wide for landscapes.
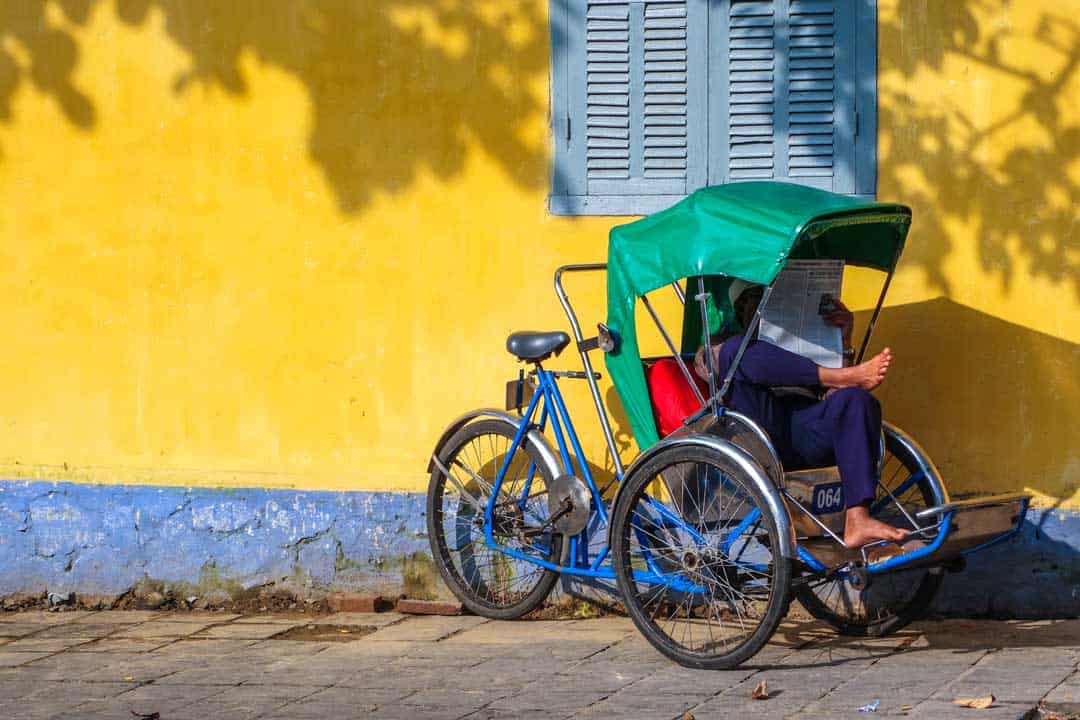
Change Your Position Relentlessly
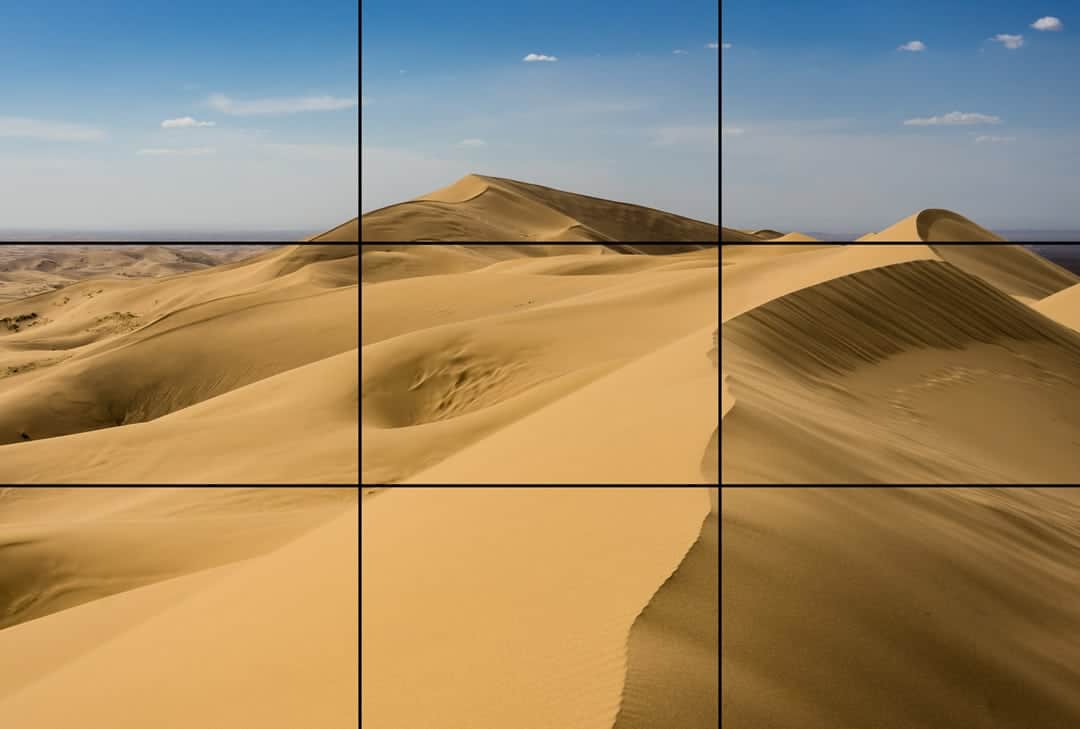
Great photographers move. I dropped to my knees in Mumbai’s markets for frog-eye views of spice vendors, or climbed dunes in Namibia for sweeping vistas. Fixed position locks you into boring angles.
During Patagonia hikes, shifting 10 feet revealed iceberg compositions hidden from trails. Train your eye: low angles empower subjects, high ones contextualize. Footwork uncovers 90% more opportunities.
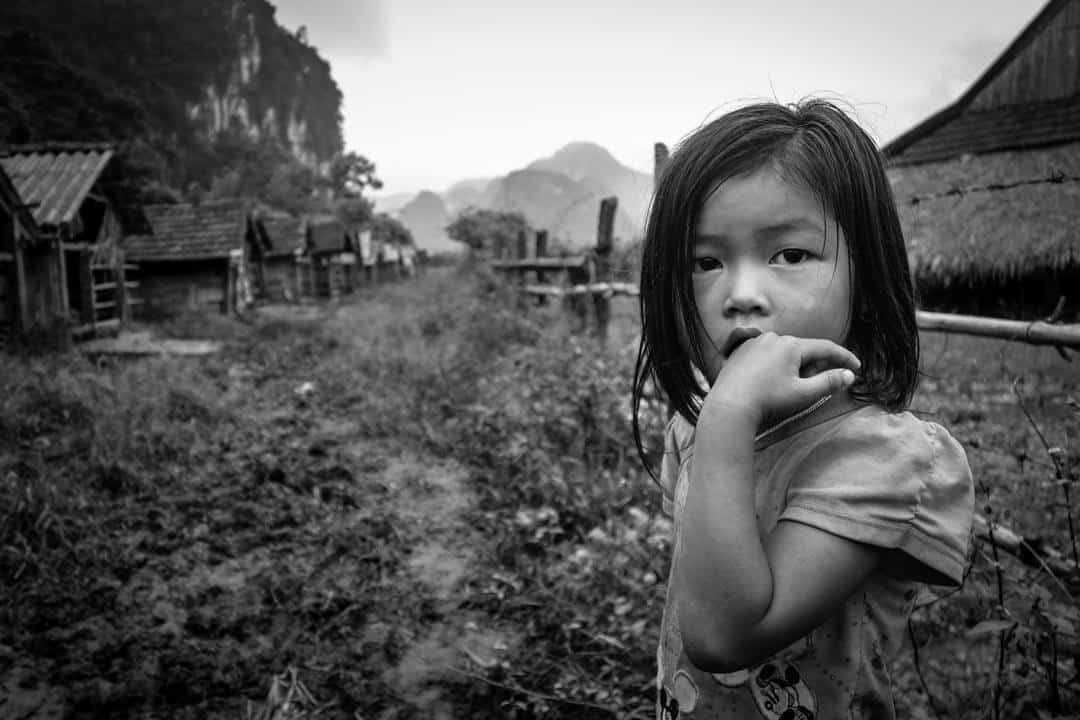
Secure Permission and Build Rapport with Subjects
Street photography thrives on trust. In Ethiopia’s Omo Valley, smiling and showing my screen won over tribespeople, yielding authentic portraits. Always ask: “May I take your photo?” Gesture universally.
Share images instantly via my phone; it breaks ice. In conservative areas, respect customs. A comfortable subject reveals soul-deep expressions, far beyond posed stiffness.
Harness Tripod Stability for Precision
A tripod unlocks long exposures for silky waterfalls, like my 30-second shot of Iguazu Falls. Carbon fiber models like Manfrotto MVK500AM weigh little yet hold steady in wind.
Night cityscapes demand it; my Tokyo Shibuya crossing blur required 10 seconds at f/11. Practice leveling; it prevents crooked horizons ruining epics.
Select Gear Tailored for Travel Adventures
Pack light: mirrorless like Sony A7 IV, versatile 24-105mm lens, and a gimbal for video. My kit weighs under 5kg for month-long treks. Skip heavy DSLRs unless specialized.
Essentials: extra batteries, rain cover, ND filters for bright days. Check B&H Photo for deals. Quality beats quantity; one great lens outperforms ten mediocre.
Cultivate Your Distinct Photographic Style
Copycats fade; uniqueness endures. My voice emerged editing Bali sunsets with desaturated tones and high contrast. Study Henri Cartier-Bresson, then twist rules to fit your eye.
Review 1,000 personal shots quarterly; patterns reveal your signature. Audiences crave authenticity, boosting shares 40% per eye-tracking studies.
Discover Your Unique Voice in Photography
Building on uniqueness, voice means consistent themes. Mine favors human-environment interplay, like nomads against vast skies. Journal shoots; note emotions guiding choices.
Galleries reject sameness. Evolve through feedback from communities like 500px. Your voice magnetizes fans.
Advanced Technical Mastery for Flawless Exposures
Demystify the Exposure Triangle Fundamentals
Aperture, shutter speed, and ISO interplay for perfect brightness. Like a recipe, balance them. I learned balancing them during Himalayan treks where light shifted wildly.
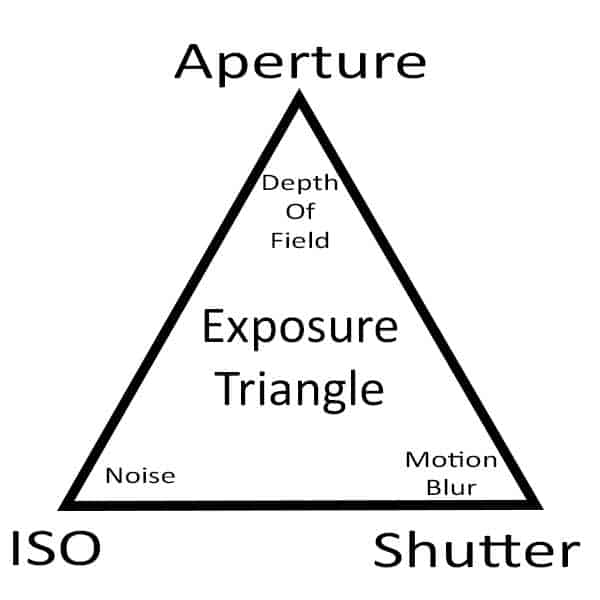
Visualize: wide aperture (low f-number) lets in more light but blurs backgrounds; fast shutter freezes action; low ISO reduces noise. Master this triangle, conquer any scene.
Control Depth of Field with Aperture Precision
Aperture (f-stops) dictates sharpness range. f/2.8 isolated Thai monks against blurred temples; f/16 sharpened entire Grand Canyon vistas. Smaller numbers widen blur (bokeh), larger numbers sharpen all.
For portraits, f/1.8 flatters; landscapes demand f/11. My Iceland auroras used f/2.8 for light gathering. Histogram checks prevent clipping.
Optimize ISO for Clean, Noise-Free Images
ISO amplifies sensor sensitivity. Base ISO 100 yields purest files; crank to 6400 for night markets, accepting some noise. Modern sensors like my Nikon Z9 handle 12800 beautifully.
In Cuba’s dark alleys, ISO 3200 captured dancers without flash. Use lowest possible; noise softens post-process. Test your camera’s limits at home.
Master Shutter Speed for Motion Mastery
Shutter speed freezes or blurs motion. 1/1000s halted African cheetahs mid-sprint; 1/2s milked Tokyo’s neon trails. Slower speeds demand steady hands or tripods.
Panning at 1/60s blurred Vietnam scooter backgrounds while sharpening riders. Reciprocity rule: double shutter, halve aperture to compensate. Practice yields intuition.
Blend Aperture, ISO, and Shutter for Ideal Exposure
Perfect exposure harmonizes all three. For snowy Alps, f/8, 1/500s, ISO 100 balanced brightness. Metering modes help: evaluative for landscapes, spot for high-contrast portraits.

Bracket exposures (+/-2 stops) for HDR merging. My workflow: set aperture for depth, shutter for motion, ISO last. This method nails 95% first-try.
Optimal Camera Settings for Travel Scenarios
Landscapes: f/11, ISO 100, mirror lockup. Portraits: f/2.8, single-point AF. Night: f/4, low ISO, long shutter. Customize My Menu for quick swaps.
Enable in-camera HDR for high-contrast scenes like sunlit ruins. These presets saved hours in the field.
Embrace Full Manual Mode Control
Auto lies; manual empowers. In Peru’s rainforests, manual corrected green overload auto missed. Use exposure compensation sparingly.
Chimping histograms guides adjustments. Pros like Steve McCurry shoot manual exclusively for predictability across lighting.
Shoot RAW for Maximum Editing Flexibility
RAW captures full sensor data, unlike JPEG’s baked-in edits. Recovering 3 stops of shadow detail from an underexposed Machu Picchu dawn shot amazed me.

Storage eats space, but 32GB cards handle 1,000 frames. Adobe Lightroom reads all formats; commit for pro workflow.
Transform Images Through Expert Post-Processing
90% of final image happens in edit. Lightroom’s curves lifted my Santorini blues; dodge/burn added dimension to portraits. Calibrate your monitor first.
Avoid over-editing; subtlety wins awards. Courses on KelbyOne honed my skills.
Commit to Relentless Daily Practice
Talent is myth; practice builds mastery. I shoot 10,000 frames yearly, reviewing weekly. Local parks mimic travel challenges.
Join challenges on Instagram; feedback accelerates growth. Consistency turned my hobby into a career.
Frequently Asked Questions About Travel Photography
What is the single best time for travel photos?
Golden hour right after sunrise or before sunset provides the softest, most flattering light, reducing harsh shadows common at midday.
Do I need expensive gear to start?
No, your smartphone excels with good technique. Upgrade as skills grow; composition matters more than megapixels.
How do I handle photography permissions ethically?
Always ask verbally or gesture, smile, show your screen, and delete on request. Respect no-photo zones and cultures.
What is the exposure triangle exactly?
Aperture controls light and depth, shutter speed manages motion and light, ISO adjusts sensitivity. Balance for correct exposure.
Should beginners use manual mode?
Yes, start with aperture priority, graduate to full manual. Practice builds confidence faster than auto reliance.