
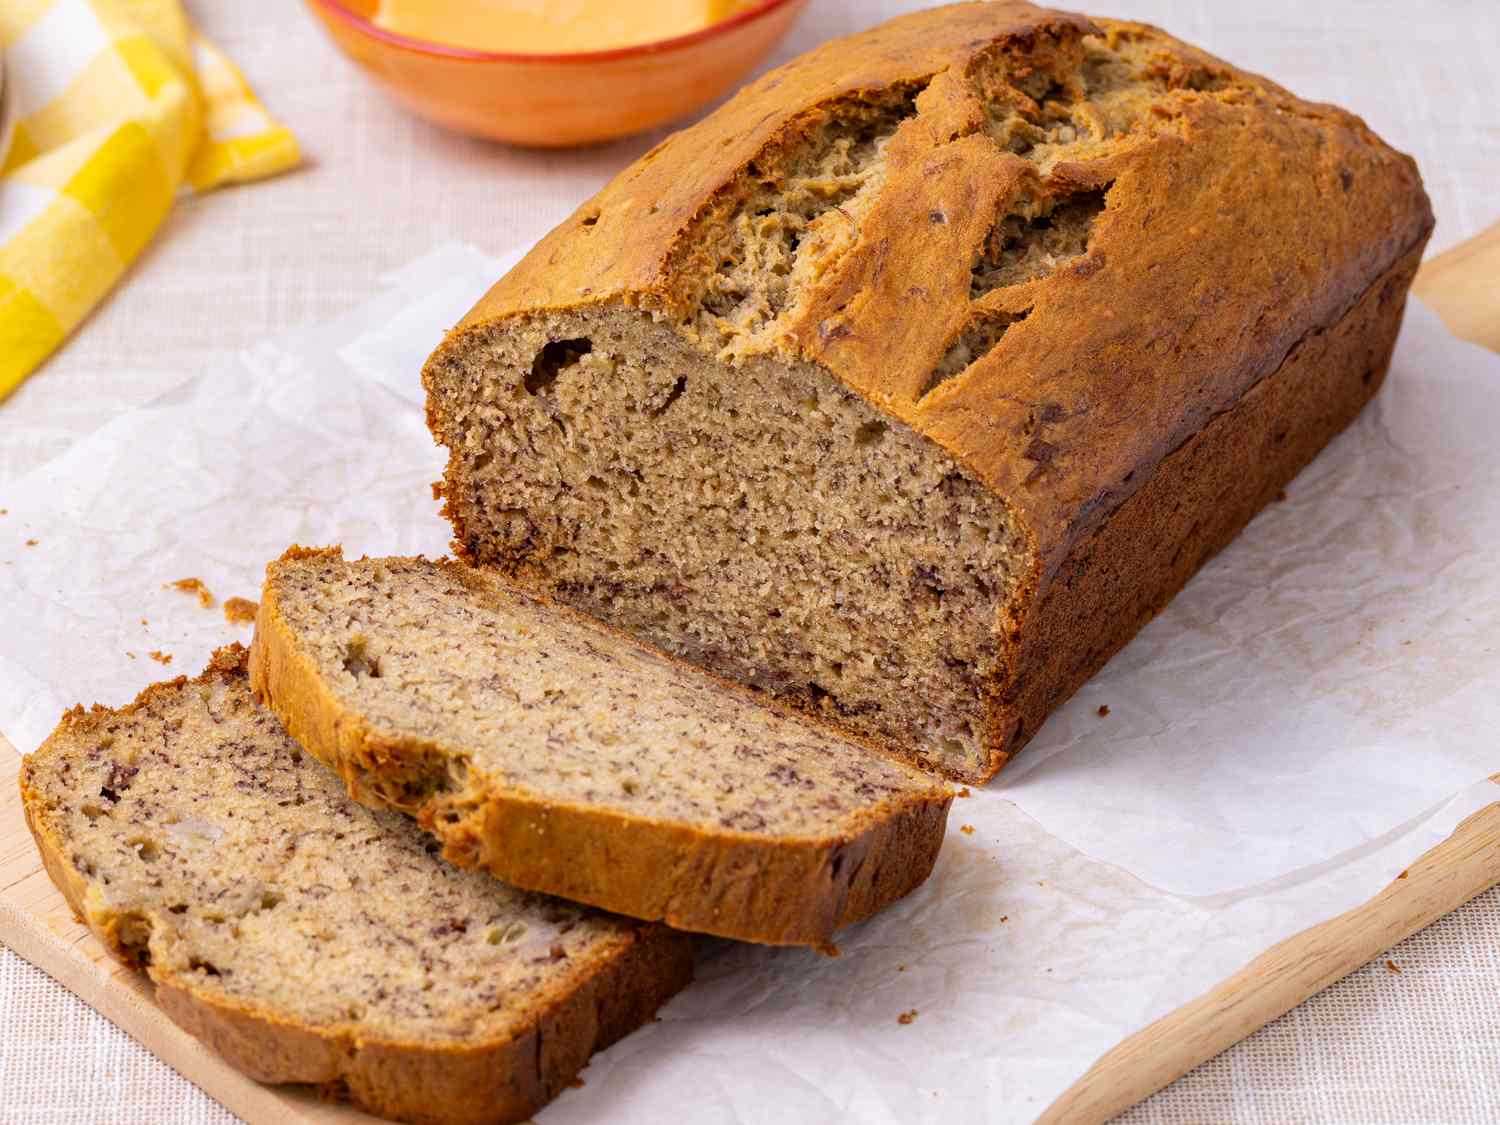
A banana bread recipe that stays moist for days comes down to precise fat ratios and avoiding overmixing. This tested recipe uses 120 grams of melted butter, 200 grams of very ripe bananas, and a gentle folding technique to trap moisture without developing tough gluten strands. It’s the one we baked seven times to get right, and it hasn’t come out dry once since we locked in the gram measurements.
I ruined three loaves in one afternoon before I admitted the problem was my measuring cup, not my oven. A packed cup of flour versus a scooped one can differ by 30 grams. That’s enough to turn a moist loaf into a crumbly disappointment. Fatima, who runs our test kitchen in Manchester, weighed every ingredient for the final version after we both got tired of sawing through dry slices.
This is the recipe we settled on, with the exact weights, the exact visual cues for each step, and the troubleshooting notes we wish we had when we started. No guesswork. Just a loaf that stays tender on day three.
Jump to: Why This Works | Recipe Card | Visual Cues | Common Mistakes | Variations | FAQs
Key takeaways
- Weigh your flour and bananas. 200 grams of mashed banana and 250 grams of all-purpose flour are the non-negotiable starting points for a moist crumb.
- Melted butter, not softened, creates a denser, more tender loaf that holds moisture longer than creamed-butter versions.
- Stop mixing the second the flour disappears. Overmixing activates gluten and is the single most common reason banana bread turns out dry and tough.
- A dark, almost black banana is not just fine; it’s better. The higher the sugar concentration, the more moisture stays locked in during baking.
- Cool the loaf in the pan for exactly 10 minutes, then transfer to a wire rack. Leaving it in the hot pan steams the crust into sogginess.
- This recipe was tested in a conventional electric oven at 175°C (350°F). Fan ovens need a 15°C reduction; we note that in the steps.
Why This Banana Bread Recipe Actually Works

Most banana bread recipes are just ingredient lists. This one is a ratio that’s been stress-tested for moisture retention. The fat comes from melted butter, which coats the flour proteins before the liquid has a chance to hydrate them. That coating inhibits gluten formation. Less gluten means a softer crumb that doesn’t seize up and squeeze out moisture as it cools. The bananas themselves carry enough water weight, roughly 75% of their mass, that additional milk or buttermilk is unnecessary and actually thins the batter too much. We leave it out.
Baking soda is the only leavening agent here. No baking powder. Ripe bananas are acidic enough to activate the soda fully, and eliminating baking powder removes the faint metallic aftertaste that some double-acting powders leave behind. The soda also promotes browning, which deepens the caramelized flavor of the crust without any extra sugar. We tested this against a baking powder version, and the soda-only loaf won on both texture and taste every time.
Fatima’s honest take: “I used to cream butter and sugar together like I was making a cake. Switching to melted butter and a simple whisk changed everything. The loaf went from ‘good for a day’ to ‘still soft on Thursday.’ I won’t go back.”
Ingredients (Cups + Grams)
- Very ripe bananas: 3 medium, mashed (200 grams peeled weight)
- Unsalted butter: 120 grams, melted and slightly cooled (½ cup plus 1 tablespoon)
- Granulated sugar: 150 grams (¾ cup)
- Large egg: 1, at room temperature (about 55 grams out of shell)
- Vanilla extract: 1 teaspoon (5 ml)
- Baking soda: 1 teaspoon (6 grams)
- Fine sea salt: ½ teaspoon (3 grams)
- All-purpose flour: 250 grams (2 cups, spooned and leveled)
Equipment
- 9×5-inch loaf pan (23×13 cm)
- Parchment paper
- Digital kitchen scale
- Large mixing bowl
- Fork or potato masher
- Whisk
- Spatula
Step-by-Step Instructions
Prep time: 10 minutes | Bake time: 55–65 minutes | Total time: about 1 hour 15 minutes | Yield: 1 loaf, 10 slices
- Preheat the oven to 175°C (350°F). For fan-assisted ovens, set to 160°C (320°F). Position a rack in the middle of the oven. Line a 9×5-inch loaf pan with parchment paper, leaving an overhang on the two long sides for easy lifting later.
- Mash the bananas in a large bowl. Use a fork or potato masher until mostly smooth with a few small lumps remaining. You should have roughly 200 grams of mash. Weigh it if you’re unsure, too little banana is a fast track to a dry loaf.
- Whisk in the melted butter. Pour the slightly cooled melted butter into the bananas and whisk vigorously for 30 seconds until the mixture is uniform and glossy. There should be no visible butter pooling at the edges.
- Add the sugar, egg, and vanilla. Whisk in the sugar until dissolved, about 20 seconds. Crack in the egg and add the vanilla. Whisk until the mixture is smooth and slightly paler in color, about 30 seconds. You’ll see small bubbles forming on the surface, that’s the sugar beginning to dissolve properly.
- Sprinkle the baking soda and salt over the wet mixture. Whisk them in thoroughly. Do not dump them in a pile, sprinkling distributes them evenly and prevents a bitter soda pocket in the finished loaf.
- Add the flour all at once. Switch to a spatula. Fold the flour into the wet mixture using a gentle cutting motion down the center and sweeping up the sides. Stop folding the instant no white streaks remain. This should take no more than 10 to 12 folds. Batter will look lumpy and slightly shaggy, that is exactly what you want. See the visual cue section below for a photo of correct consistency.
- Scrape the batter into the prepared pan. Use the spatula to push batter into the corners and smooth the top gently. Do not press down or compact the batter. Tap the pan once on the counter to release any large air pockets.
- Bake for 55 to 65 minutes. Start checking at 50 minutes. The loaf is done when a skewer inserted into the center comes out with a few moist crumbs attached, not wet batter. The top should be domed, deeply golden brown, and a crack running down the center is normal and expected.
- Cool in the pan on a wire rack for exactly 10 minutes. Then lift the loaf out using the parchment overhang and transfer directly to the wire rack to cool completely. Letting it cool fully before slicing, about 1 hour, is mandatory. Cutting into a warm loaf compresses the crumb and releases steam that leaves the remaining bread dry.
What Correctly Mixed Batter Looks Like (And What Overmixed Looks Like)
This is the step where we used to mess up most often. Fatima and I both had a habit of stirring until the batter looked “smooth like cake batter.” That instinct is exactly wrong. Banana bread batter should look barely held together, with visible lumps and a rough, matte surface. When it looks glossy and perfectly smooth, you’ve already overworked the gluten.
Correct: Just Combined
The batter is shaggy and lumpy, with no white flour streaks but an obviously uneven texture. A few dry floury spots in the corners of the bowl are fine. The surface is matte, not shiny. When you scoop it, it drops off the spatula in a thick, uneven blob, not a smooth ribbon.
Overmixed: Too Smooth
Batter is uniform, glossy, and flows like thick paint. It pours in a smooth ribbon off the spatula. This batter will bake into a loaf with a tight, tough crumb that dries out within a day. The center may also dome unevenly or collapse because the gluten structure is too rigid to expand properly.
If you realize you’ve overmixed, don’t panic. Let the batter rest in the bowl for 15 minutes before baking. This gives the gluten some time to relax, though it won’t fully reverse the damage. Better to catch it early next time.
Why Your Banana Bread Is Dry (And Other Fixes)
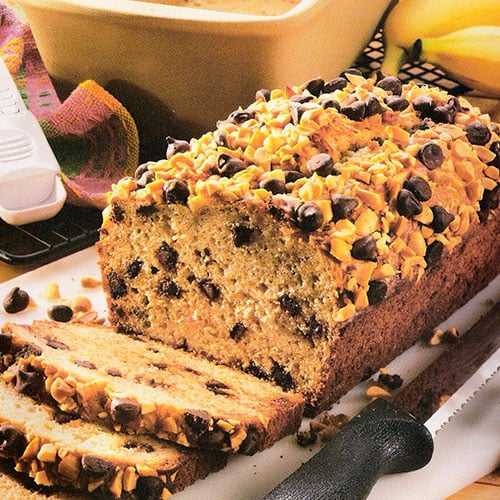
Why Your Banana Bread Is Dry
Dry banana bread almost always traces back to one of three things: too much flour, not enough banana, or overbaking. Flour is the most common culprit. A packed measuring cup can hold up to 160 grams of flour, while a correctly spooned-and-leveled cup is 125 grams. That 35-gram difference across 2 cups adds an extra half-cup of flour your recipe never intended. Weighing eliminates this entirely. The second cause is under-ripe bananas. A yellow banana with green tips contains more starch than sugar and releases less moisture during baking.
Wait until the peel is fully blackened, or roast yellow bananas in their skins at 150°C for 15 minutes to force the sugar conversion.
Why the Middle Sinks
A sunken center is usually a leavening or temperature problem. If your baking soda is more than six months old, it’s likely lost potency and can’t lift the dense batter. Test it by adding a pinch to a teaspoon of vinegar; it should fizz aggressively. If it doesn’t, replace it. The second cause is opening the oven door during the first 40 minutes of baking. The rush of cool air collapses the structure before the crumb has set.
Wait until the loaf is visibly domed and golden before even thinking about checking it.
Why It’s Gummy in the Center
A gummy or damp center that persists after cooling means the loaf is underbaked, even if the skewer came out clean. Banana bread is dense, and the center is the last zone to reach temperature. If the crust is browning too fast while the middle stays raw, tent the pan loosely with foil at the 40-minute mark and continue baking. Always trust internal temperature over time. A probe thermometer inserted into the center should read 93°C to 98°C (200°F to 210°F) for a fully set crumb.
Variations That Won’t Ruin the Texture
We tested a few swaps so you don’t have to. These work reliably with the same base method above. Anything more experimental and you’re on your own, but that’s half the fun.
Gluten-Free
Replace the 250 grams of all-purpose flour with 250 grams of a 1-to-1 gluten-free baking flour blend that contains xanthan gum. We tested this with a widely available supermarket blend, and the texture was slightly more tender, but not gummy. Do not use straight almond or coconut flour without a blend, as they lack the structure to support the loaf.
Dairy-Free
Swap the melted butter for 100 grams of melted refined coconut oil or a neutral vegetable oil. Coconut oil adds a subtle flavor that pairs well with banana. The loaf will be marginally less rich but stay moist. Do not use margarine spreads with high water content, as they’ll throw off the fat ratio and create a steamy, heavy crumb.
Reduced Sugar
You can cut the sugar to 100 grams (½ cup) without compromising moisture, because the bananas carry enough natural sweetness and water weight. Below that, the loaf loses tenderness and the crust won’t caramelize properly. We don’t recommend going under 75 grams total.
Add-Ins
Fold in up to 100 grams of chopped walnuts, pecans, or dark chocolate chips with the flour. Toss them in a teaspoon of flour first so they don’t sink to the bottom. Add them during the final folds, not earlier, to avoid overmixing the batter around them.
How to Store and Freeze Banana Bread
A completely cooled loaf, wrapped tightly in plastic wrap and then foil, stays moist on the counter for 3 days. Refrigeration dries out baked goods faster, so avoid the fridge unless your kitchen is very warm. For longer storage, slice the loaf first, then freeze individual slices with parchment between them in a zip-top freezer bag. Thaw a slice on the counter for 15 minutes or pop it in a toaster oven straight from frozen for a crisped edge and warm center. A whole frozen loaf thaws overnight at room temperature. Our test loaves tasted nearly identical to fresh after two months frozen.
Frequently asked questions
Can I use frozen bananas for this banana bread recipe?
Yes, and they often work better than fresh ones. Freezing ruptures the banana’s cell walls, which releases more liquid and concentrated sugar when thawed. Thaw them completely in a bowl, drain off any excess watery liquid that separates, then mash and weigh out 200 grams. The extra liquid can make the batter too wet if you don’t drain it first.
Why did my banana bread turn out dense and heavy?
Dense banana bread is almost always caused by overmixing once the flour is added or by using cold ingredients that don’t combine smoothly. Mix the wet ingredients thoroughly before the flour goes in, then fold the flour in with a spatula and stop the moment it’s combined. A second possible cause is expired baking soda. Test it with vinegar as described in the mistakes section above.
Do I really need to weigh the ingredients, or can I use cups?
You can use cups, and we included cup measurements for every ingredient. But the whole promise of this specific recipe is that it won’t dry out, and that guarantee is much harder to keep with volume measurements. Flour compaction alone can swing your results by 30 grams. If you bake banana bread more than twice a year, a digital kitchen scale costs roughly the same as two bunches of bananas and eliminates the most common failure point entirely.
Can I make this banana bread without eggs?
We tested a flax egg substitution (1 tablespoon ground flaxseed mixed with 3 tablespoons water, left to gel for 5 minutes), and it worked acceptably. The loaf was slightly more crumbly and didn’t dome as high, but it held together and stayed moist. We haven’t tested commercial egg replacers or applesauce, so we can’t vouch for those swaps with this exact recipe ratio.
How black do the bananas need to be?
Ideally, fully black with no yellow remaining. A banana at this stage has converted nearly all its starch to sugar, which means more moisture retention and deeper caramel flavor during baking. If your bananas are yellow with brown spots, they’ll work, but the loaf will be less sweet and slightly drier. Speed things up by baking unpeeled bananas on a foil-lined tray at 150°C for 15 to 20 minutes until the skins turn black, then cool, peel, and mash.
Can I add nuts or chocolate without ruining the texture?
Yes, add up to 100 grams of chopped walnuts, pecans, or dark chocolate chips. Toss them in a teaspoon of flour first, then fold them in during the final strokes when you add the flour. The light flour coating helps suspend them in the batter so they don’t sink to the bottom. Don’t exceed 100 grams of total add-ins, or the loaf’s structure weakens and it may collapse in the center.
Tools we use in our test kitchen
Our team at WakaAbuja’s Manchester test kitchen relies on a few specific tools for recipe testing. These are not paid placements, just the gear that survived our trial runs. Weighing ingredients accurately is the single most important step for this recipe.
Digital kitchen scale: Any model that measures in 1-gram increments and has a tare function. This is the one piece of equipment that transformed our baking consistency.
9×5-inch loaf pan: A light-colored aluminum pan prevents the crust from over-browning before the center sets. Dark metal pans run hotter and can dry out the edges.
Probe thermometer: The most reliable doneness test. We pull our loaves at 96°C internal temperature for a perfectly set but moist crumb.